Showing posts with label stickers. Show all posts

Saturday, December 15, 2012

Crazy Aloha to You!

Oh how I miss summertime on wet and cold months like these in December!  I love the season but I miss the sunshine.  I've got a couple cards to share today that were really simple to make.  I dug deep in my old stash on this first card...

U R Pretty Fabulous

I used lots of papers and epoxy stickers here.  I had some REALLY OLD Stampin' Up! rub-ons and decided to use those on this card.  I like how it's got a sort of doodled effect to it.  The epoxy stickers added lots of fun shine and texture and also helped me create a greeting on the card.  Easy peasy!

Crazy Aloha

And more stash items here.  The flower was created with a fabulous die from My Favorite Things...it really is one of my favorite things to use!  While on a trip to Hawaii, I purchased a deck of cards.  I still have a few of those laying around so if you REALLY wanted one, let me know.  I sold a few of them on my Etsy site for a good deal!

I am really seriously going through my stash of cards.  I've given lots away this year and my collection is dwindling!  I need to sit down and make a bunch!  What else am I going to share with you all?

Hope you're having a fabulous week!  Happy Holidays!!!


Sunday, November 25, 2012

uR Priceless: A Doodled Effect/Stamped Background Card Tutorial

Let me start with some amazing deals!  I can't believe how packed this issue is!  I've recently posted a few  projects on my Facebook page inspired by tutorials from this issue as well as past issues.  I'm someone who lives and breathes scrappy happiness, and I tell you YOU CAN'T EVER know everything!   Be inspired by countless projects and tutorials in this issue and 2013 will bring fabulous inspirational themes and tutorials (just wait and see).  Ahem...I have a few tutorials in here too...


ready to hear the news?????

***
Between now and Monday night (November 26, 2012 at 11:59 pm), purchase a Lifetime subscription (of Scrapbook News and Review) at the deeply discounted price of $39.99 for yourself and we'll give a free Lifetime subscription to the person of your choice and send the proceeds to those who have lost so much this holiday season from Hurricane Sandy. 

Purchase the Lifetime subscription here and then drop us a note at helpdesk@scrapbooknewsandreview.com with the name and e-mail address of the person you want to gift the subscription to and we'll do the rest!

P.S. If you already have a subscription, then grab a subscription for a friend and we'll give another friend a free subscription and then pass on the proceeds to charity.  


You can also SEE THE MAGAZINE FOR FREE until Monday night (as referenced above).  Just go HERE (subscription page) and use promo code FREESNR12.
***

Here's another tutorial I'm sharing, previously published in Scrapbook News and Review's July 2012 issue.  If you haven't realized it by now, I try to stretch my scrappy supplies by using stamps in various ways.  Doodles are fun and popular right now.  If you don't feel confident in your doodling skills, try using a doodled image stamp(s) to create a patterned paper.  Here I've added pops of color to the stamped images, completing my card with felt flowers, chipboard, twine, and brads from my stash.

U R Priceless
(click on photo above for a supply list)


Supplies
Black cardstock
White cardstock
Small alphabet stickers
Felt flowers
Brad
Chipboard button
Bakers twine
Chipboard swirl
Chipboard tag
Outline stamps
Sentiment or word stamp
Pearlized ink (Smooches) or any colored pens/pencils
Black ink
Solvent ink (if using glossy/smooth finished chipboard tag)
Hot glue gun (or other strong adhesive)
Paper trimmer


Step One:  You will want to use a couple stamps with an outlined image you can color in.  I used two stamps and some black ink.  You can use one or more stamps to stamp a background onto some white cardstock.  Stamp some images off the edge of the cardstock.


Step Two:  Ink the edges of the white cardstock with black ink.


Step Three:  Glue the white cardstock onto some black cardstock so that you have a black border around the stamped background.


Step Four:  My chipboard tag has a glossy finish to it.  In order to stamp my word stamp onto the tag, I need to use Solvent Ink so that the ink doesn’t smear.  If your tag doesn’t have a smooth finish, you can use the same ink you used to stamp your background.


Step Five:  Color in the stamped outlined images with colored inks.  I used Pearlized inks by Smooches (Clearsnap).  You could also use colored pens or pencils.


 Step Six:  Add some baker’s twine to the chipboard tag.  Put together your felt flowers with brads or chipboard buttons and some twine.  I like to use a hot glue gun to glue the flowers together.


Step Seven:  Use a hot glue gun (or other strong adhesive) to glue your chipboard swirl onto your card.  


 Step Seven:  Use a hot glue gun (or other strong adhesive) to glue your chipboard swirl onto your card. 


Step Nine:  Add the felt flowers to the card with the hot glue gun.


Step Ten:  I added some alphabet stickers (“u” and “r”) above the word “priceless”.


Step Eleven:  If needed, trim the twine on the tag and the flower.


Don't forget to hop over to SNR and get in on those great deals!  You have till Monday November 26th at 11:59 pm...so HURRY!

Happy Crafting!


Thursday, October 4, 2012

This is Halloween....


Ahhhh....my favorite time of the year.  Dare I say, even more exciting than Christmas!  We're pulling out the Halloween decor.  And the kids are chompin' at the bit to get their little hands on the fun Halloween booties to help with the decorating!

And it's been awhile since my last post because I've been slaving on my new Halloween-themed class to offer at The Art Studio!  Soon it will be up and available....hopefully by Saturday.  But until then, here are some sneaks....


Now I don't know how the idea came about but I somehow got it in my head that I wanted to make a class where you can create a Halloween banner to hang or you mantle, doorway, or wall.  But I couldn't leave it at that...oh NO I couldn't and so I'm going to show you how to morph it into a mini-album to display after Halloween has graced us with it's spooky presence!


Take advantage of my digi skills and benefit from the fabulous downloadable patterned paper, journaling library cards with pocket, and journaling tag!  Oh and the fun doesn't stop there.....gosh....kinda sorta feels like Christmas, doesn't it????

Well, when the class debuts for sale (it's self-paced so you get it instantly when you buy...no waiting till class is in session), I will have FOR FREE a small tutorial to share via video on The Art Studio website.  I'm even contemplating a FREE printable as well!  So come by, sample some fun and if you likey....BUY-ee!

And to celebrate some Halloween fun I've got some Halloween projects created last year for the EK Success event we held on the Scrapbook News and Review forum!  I'm gonna keep some of them from you  to share later but this is what I've got for your viewing pleasure today!


Want a little sneak of some ideas on my Scrapbooking with Punches and Die-Cuts class?  Well, her ya go RIGHT HERE!  I'll be releasing this class soon available as a bundle or separately by shape (circles, squares, and hearts...oh my)!  Ahem, the best buy is the BUNDLE!  So watch the video now, because I'm thinking of editing it down because it really is a bonus for those who purchase the entire bundle.  I think I'm going to take out some of that content REAL SOON!  LOL!

So stay tuned!  I hope you are all happily busy with life and crafting!  And if not, just happy!  Thanks for stopping by to visit!


Saturday, September 15, 2012

Friends are Like Sunshine Through the Rain

Friends...Like Sunshine Through the Rain, don't you agree?  In some form or other friends I've met along this journey have brought such joy to my life.  Friends I've known since I was a little girl, friends at work, friends I've met in the crafting world either in person or online....

Thank Heaven for Friends!  It's amazing the power that kind words, prayers, and simply just listening have.  Today my post is a tribute to all of my friends....including YOU reading this right now!

Thank you for taking the time to comment, read, and just bring sunshine into my life.  It means so much and keeps me creating!

(click on photos for supply lists)
Friends are Like Sunshine Through the Rain

This card is made with lots of Basic Grey and Cosmo Cricket goodness!  I used stickles for raindrops.  I LOOOOOVE me some stickles!

Just us Girls

And this layout is of a photo I took with a BUNCH of old friends...the oldest friends I have!  My friend Lora got married and this was her bridal shower.  Oh man, it was a HOT day, but we cooled off with some good old iced Sweetberry tea at Elizabeth and Alexander's Tea House (love that place)!

And school is in full swing at the Kao household.  I've completed the monthly and daily chore charts for the kids.  He he...the must be wondering what in the world is going on with me...I really haven't had the kids stick to schedules but my son has just started Kindergarten and I really have to get THAT ONE on a schedule if he's going to do well....lol!  Poor kid, he's so much like his momma.  If my mother and father didn't keep on me constantly, I wouldn't have been able to get anything done (too much of a daydreamer).  And since I'm AWFUL at remembering when things need to be done, schedules are a MUST!

Even the Hubby couldn't escape the chore chart!  Ha ha...now to introduce it to him....muah ha ha ha!  Do you or did you use chore charts?  Got any good websites for tips and tricks?  Please share!

(Both creations were featured in the March 2012 issue of Scrapbook News and Review Magazine.)


Sunday, September 9, 2012

Good 'Ol Card Making!

Pin It

Hey everyone!  I'm back with some cards to share!  Sorry if I've got some repeats but I figure if I can't remember what I've shared....you may not either...lol!  I'm pretty sure these weren't shared on my blog though.

These cards were featured in the April 2012 issue of Scrapbook News and Review.  I love creating cards this way...real easy with only patterned paper, trim, stickers, and good old alphabet stickers!  They come together so easy!

If you pick ONE thing that really stands out and will steal the show, you're good to go.  Here on each card I've chosen a bright color trim, a beautiful pre-made flower, or a fun greeting to showcase on the card.

Click on each photo for supply lists.

More Than You Could Ever Know

This card was created with only Webster's Pages goodies!  I love me some Webster's Pages!


I Love My Love Bug

I love the colors on this card and my "love bug" sentiment.  Do you have a bunch of those Maya Road acetate doilies?  I've got a BUNCH of em in black AND white!  LOL!  They must have been on sale because I can't seem to get rid of my stash of them!


A Special Day

This card was created with some REAL OLD stash from my craft room!  But what I looooove the most is my trusty DYMO label maker!  Just pull that sucker out and you've got a quick sentiment or some fun journaling!  I stock it the same way I do adhesive...I ALWAYS buy more when I'm out and about at the craft store.  I GOT to make sure I've got some on hand because if I were to run out...it would TOTALLY spoil my crafty day!

Do you find that you create more with patterned paper and embellishments?  Do you gravitate more to stamps?  What DO you seem to be drawn to when creating cards?


Thursday, August 9, 2012

Misty Drips and Gesso


Not only am I lucky enough to be an instructor at The Art Studio, but I'm blessed with talented peers from which to draw knowledge and inspiration from!  I recently took Heidi Myers Mists: Not Just Point and Shoot class and it has opened the door to new possibilities for me!  (Note: It says registration has closed but it's SELF-PACED so you can access all the materials at once, just buy!)

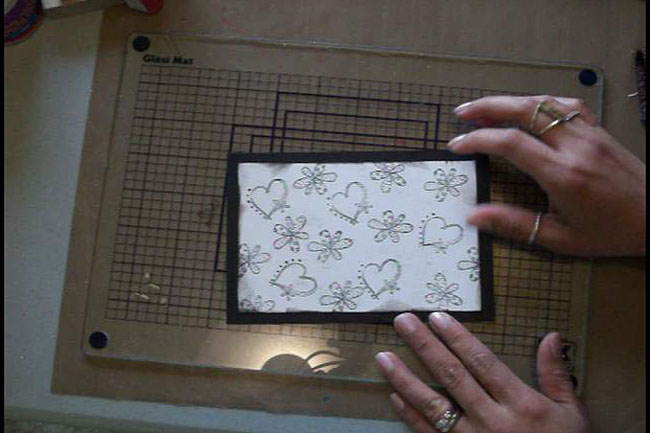
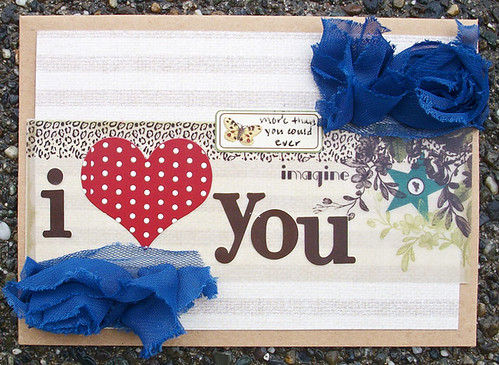
Here is a sneak of a project featured in the September 2012 issue I just created.  I was able to apply some techniques I learned in Heidi's class.  I am in LOVE with this creation!  I can think of so many offshoots to this project and I can't wait to get in my craft room after this post to play with misty goodness some more!

And I am EDGE OF MY SEAT excited about Kate Koch's class:

 
Class starts August 11th!  Here's a CLASS DESCRIPTION:

All right. Raise your hand if you know what gesso is. One, three seven, eight...that’s it? I kid. Sort of. Gesso is one of those silly paradox types of products. Paper crafters tend to see gesso as something only a true artist (whatever that means) would use and true artists (let me know if you have a definition of one) tend to think what paper crafters do with it is ridiculous.

Well, that’s what I was recently told by an art school professor who was flipping through one of my scrapbooks and couldn’t get over how much gesso I use and in “such absurd and non-traditional ways.” Pfft. What’s traditional? Doesn’t being creative with a product that’s basically a primer make me a true artist? (Let the record show that she didn’t have an answer for that one.)

As I watched her thumb through the pages and scratch at things with her fingernails (can’t imagine how she’d take it if I went around scratching on her carefully placed fine art wall hangings, but I digress), I realized I’m one of those paper crafters who likes to do ridiculous things with gesso.

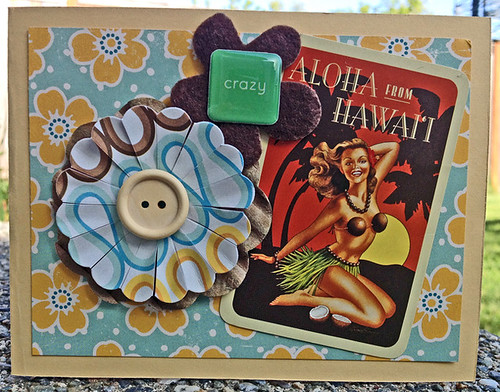
Want to slap this crazy label on your forehead? If so, then this class is perfect for you and it’s taught by a true gesso fiend. Now I can’t make you a list of all the things you’ll learn in this class cause then what would you need to take it for, right? But what I can tell you is that it’s more than just a primer or an adhesive and my obsession goes way beyond swipe and paint.

In Gesso: It’s More than Just a Primer, I’ll teach you the basics and how to apply it correctly (cause it really does matter!), simple uses for it, the way it was intended to be used (to make Ms. Prissy Professor Pants happy) and then get you thinking way outside the proverbial box.

Sadly, that’s all I can tell you but if you gather some stencils and some glitter and some sparkly stuff and some embellishments and some photos and oh heck, just sit in the middle of your scrap space and be ready to reach for anything and everything cause if gesso can stick to it (unfortunately, it doesn't stick to everything), you’ll learn how to slap it on there and do some mighty cool tricks with it.

I guess you’ll just have to jump in to the fray and find out if it’s worth the hype. Now, as with my other classes, I put a strict student cap on my classes so if you want in, then click on that Save My Spot button now and make your voice heard. Otherwise, when you do get around to buying that “kooky girl’s gesso class” and you click on the button, you may see the words “Class Sold Out” and you’ll be wishing you had listened to me in the first place. Go ahead, I dare you. Press the button.

SAVE A SPOT, because it will fill up FAST!  Katie will be there in the Group Area of the class helping you with whatever you need.  Take advantage of her presence, she's a wealth of knowledge!

Oh, and I hear you need to get a gigantic bottle of gesso for the class!!!  I  know I need to go BACK to the craft store for more!

Ha ha...I know....LONG POST, but I can't say goodbye without some quick eye candy, right?


(click on images for supply lists if you're curious)
Say Cheese
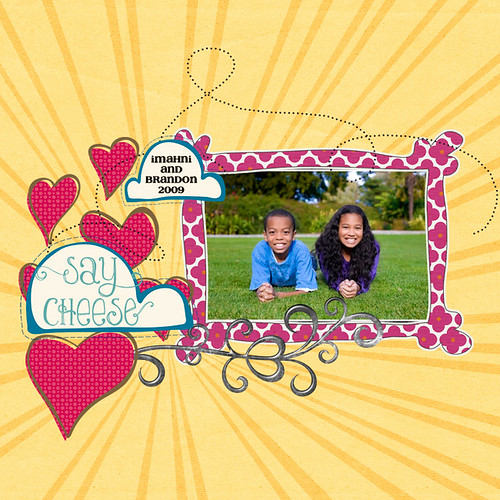
Had some digi fun scrapping about my niece and nephew.  Gorgeous kids.  They're growing so fast!


Family Likeness

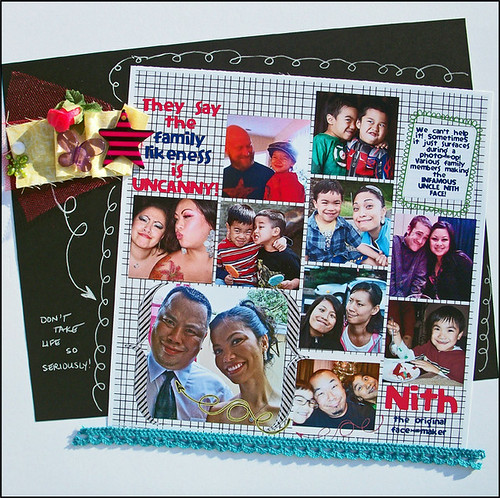
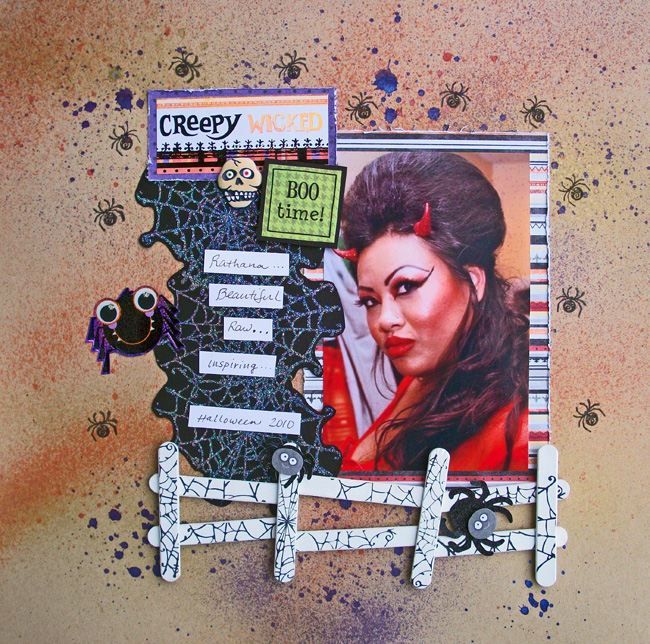
This one's a hybrid scrapbook page about how the Kao Clan has this awful ugly FACE we make.  It seems to pop up when you least expect it!


Oh How I Love You

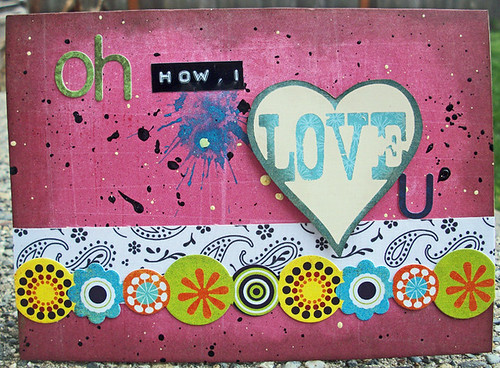
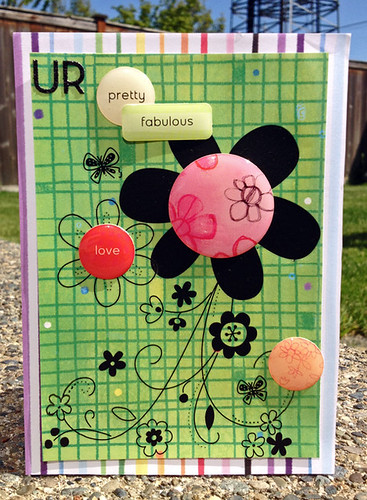
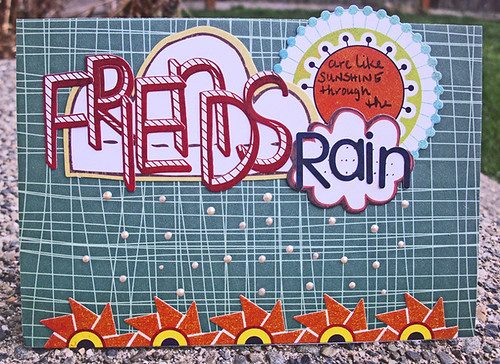
I love this paint-splattered card made with stickers and rub-ons!


Home is Where You Are

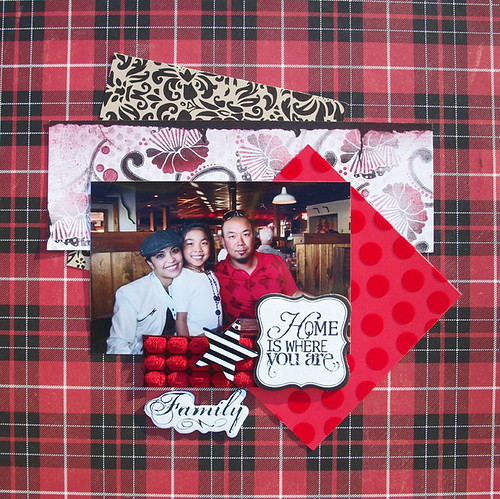
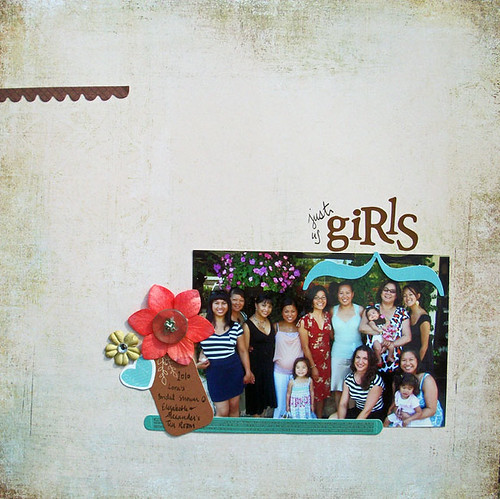
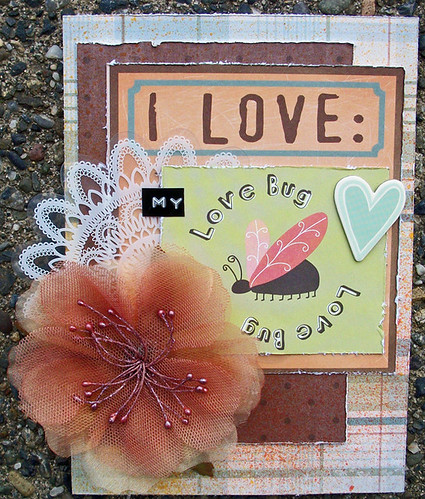
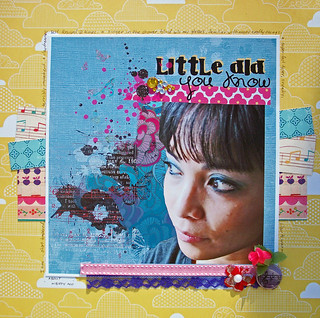
And, we can't forget my roots....ha ha...a traditional scrapbook page with lots of prints and a burst of red!

All creations were featured in Scrapbook News and Review Magazine this year!

Just finishing out the rest of my summer trying to get all our old stuff out of the house!  I'm hoping to get a garage sale going in the next couple of weeks!  I seriously don't care what I sell everything for, just that I get it OUT of the house!  It would feel sooooo nice!

I hope you're having a great Summer so far!


Pin It

Wednesday, June 20, 2012

Celebration...finally!

I am finally going to start sharing some fun creations from the Scrapbook News and Review Event last year. One of the manufacturers I had the most fun working with was Crate Paper!  I'm a fan of their beautiful patterns and high quality papers.  It was SUCH a pleasure!

Birthday Wishes

Just Because I Care
(click on photos for supply lists and a larger photos)

Doilys seemed to fit well with this collection, so I threw it in and loved how it turned out on this fun card!  Square cards rock!


And I am soooo very excited to announce the upcoming launch of The Art Studio!  You will be amazed at what we have to offer you as far as classes.  With a broad range of instructors, you're bound to find a class...or two...or three...that you'll HAVE to take!  Stay tuned for the link which will be available on the launch date!  I won't forget to remind you to visit either!


Friday, May 18, 2012

Hello Love Bugs!

Okay, I have somewhat of a breather.  But still crazy busy...April was a tough one!  But then again, it's just about June so I think I've recovered enough to just realize this!  Where did May go????

The next issue of Scrapbook News and Review Magazine will be publishing any day.  Due to the tornadoes in MI which delayed some things, we've got a double issue publishing and that is April/May 2012 issue.  It's full of tons of fun!

The projects I'm sharing below were featured in the January 2012 issue of Scrapbook News and Review Magazine scrapbooknewsandreview.com/

All projects are tied to my Flickr account so if you'd like to peek at any supply lists, they are there for your viewing pleasure!  Just click on the actual photo you want to look closely at!

Mommy's Love Bug
Here's some fun with burlap and felt!


Little Did You Know
I'm delving more into Hybrid creations.  It sure does come in handy and It really can save you a few bucks!  I'm serious!

I used Photoshop Elements to design the large photo inside with the look of paint splatter, stamping, and washi tape!  I just added some fun embellishments on top of that for some texture!


Family Likeness
This was a fun Hybrid creation as well!  The call was for Funny Faces and BOY does the Kao family make em!  If you peek into pretty much any family member's Facebook page, you'll see SOMEONE making a face like this!

I love my cooky family!


Favorites

And, of course, I can't forget a card creation!  This one was easy.  I just stamped onto some patterned paper and called it good!  No coloring necessary because the pattern and color provided enough visual interest!

I hope you all had a wonderful week and a BELATED Happy Mother's Day to you!  I hope that was a fun day!  I spent the morning with my DD at the Seattle Color Run 2012 and it was AMAZING!  Hopefully we'll get there next year as well!  I'll be sure to share the photos REAL soon!


BLOGWEAR