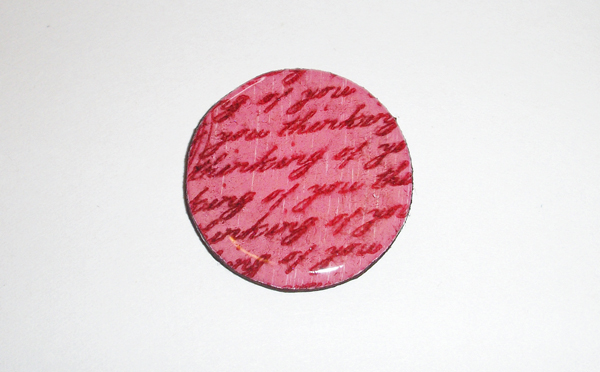
Here's another mini tutorial on how to create the button for this card.
For a tutorial on how to create the epoxy rose click HERE.

Supplies
Chipboard
Acrylic paint (pink)
Paintbrush
Pencil
Button (to use as a template)
(Die-cutting machine and button die to use in place of
button template)
Heavy duty scissors
Solvent ink (Timber Brown or any dark color)
Crop-A-Dile
Black Sharpie or black marker
Sanding block or file
Background stamp
Versamark or Embossing Ink
Ultra Thick Embossing Enamel (UTEE)
Craft tweezers (optional)
Heat gun
Step One: After your
painted chipboard is dry, you are ready to create your button. Find a button to use as a template if you
don’t have a die cutting machine/button die available. Trace your button with pencil.
Step Two:Cut out button with heavy duty scissors and sand edges for a clean edge.
Step Three: Stamp desired image onto your painted chipboard button with solvent ink.
Step Four: Cover your
button in watermark ink/embossing ink.
Sprinkle on some clear Ultra Thick Embossing Enamel (UTEE).
(Optional: Use craft tweezers to handle your
button if you don’t want to get your fingers messy.)
Step Five: Melt UTEE
with a heat gun.
Layer on more
watermark/embossing ink and sprinkle again with UTEE.
Heat the button with a heat gun.
Repeat a third time for a thick layer.
Allow button to totally dry before proceeding
to next step.
Step Six: This step
is optional.
Ink the edge of your button
if you don’t like the raw chipboard edge.
Step Seven: Use your
button holes as a template to position your button holes. I chose to mark only two holes.
Step Eight: Use the
dots as a guide for where to punch your button holes. Use a Crop-A-Dile to punch the holes. Your button is ready!
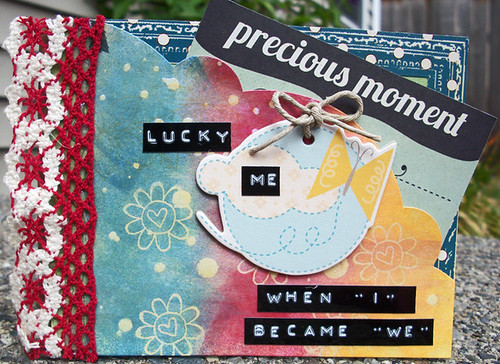
Hope you likey! In a couple days, I'll go over how to create the stem of that flower you see in the card photo above!