Showing posts with label mini album. Show all posts

Tuesday, October 15, 2013

Travel Mini Album - Binding a Mini Album

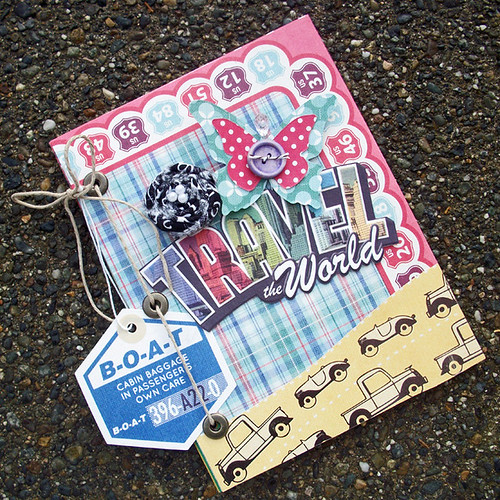
Travel Mini Book

I created this mini album using a fun travel themed collection by We R Memory Keepers for their event at Scrapbook News and Review a couple years ago.  The pages inside consisted of more double-sided cardstock from the collection.  I plan to add photos in it as I travel.  Though, I have no grand plans to travel any time soon, I still created this in hopes I get to fill it up one day...wishful thinking :)

It bound the book using a Crop-A-Dile, jumbo eyelets, and some thick sturdy hemp twine.  I wound the twine in and out of the holes.  In the back of the book, the twine looks the same way except for the bow at the top.  This will keep all my pages securely in place.

If you're curious about supplies used, just click the photo and you'll be brought to my Flickr photostream.  Do you pre-make mini albums?  What kind?


Thursday, June 6, 2013

Paper Bag Mini-Album Tutorial


Now that school is out, you've got all those extra paper bags left over from sack lunches right? No?  Well they're super cheap so next time you're at the grocery store, scoop some up!  Time to make a mini-album with them to document the finished school year OR your summer vacation!

Watch my video tutorial on my YouTube channel to learn tips, tricks and techniques to create a fabulous mini album.  There are TWO videos.  The walk-through and the video that shows you how to glue together the pages of your mini-album!

If you watch the first video, you'll find the link to the second video.
CLICK HERE to watch the walk-through video.
or watch here:


CLICK HERE to watch the assembly video.
or watch here:


Have fun!


Friday, March 25, 2011

Disneyland Adventure!

Photobucket

I know...I know...it's been a long time....
I'll make up for it...with THIS POST!

I've been creating for Scrapbook News and Review, so I've got TONS of projects to share later!

In the meantime, I've somehow managed to fit in some mini book creating!....JUST BECAUSE!

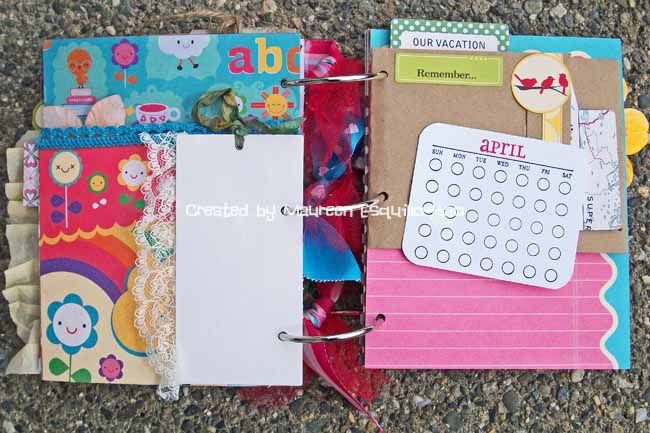
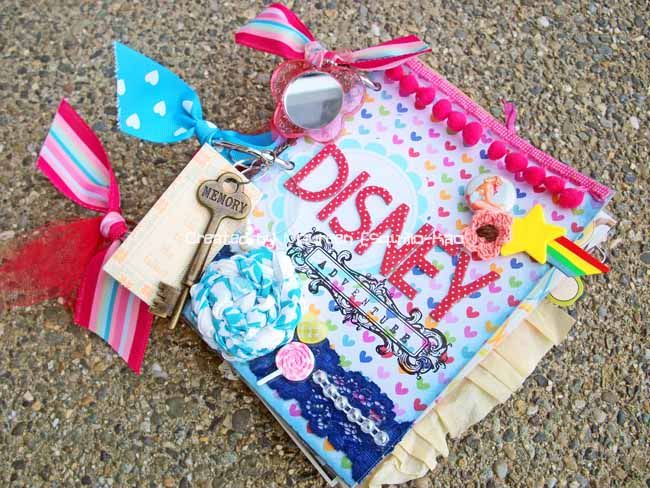
We're planning on going to Disneyland!  To prepare, I've created this premade mini which I'll be taking with me on our vacation.  I'm planning on journaling in it so I don't have to do it later!

I had my scrumptious Pink Ninja Addicts Kits to use which were SO PERFECT for the feel I wanted for my mini album...bright, whimsical, girly, with a little bit of edge.  The colors are so perfect for Disney!



Inside I've got some real fun goodies to share!
Come take a look!
Photobucket

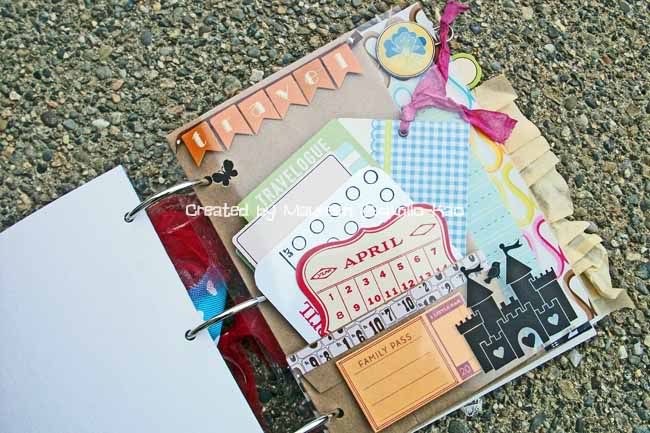
I used a bunch of transparencies in my album.  I jazzed this one up with a couple rub-ons.  I also used an envelope here.  It was pretty long, about 9 inches tall and so I folded the bottom under to create a pocket which I could tuck in journal cards, calendars and tags.  These items can be journaled on, added to a page later or kept in the pocket.
Photobucket

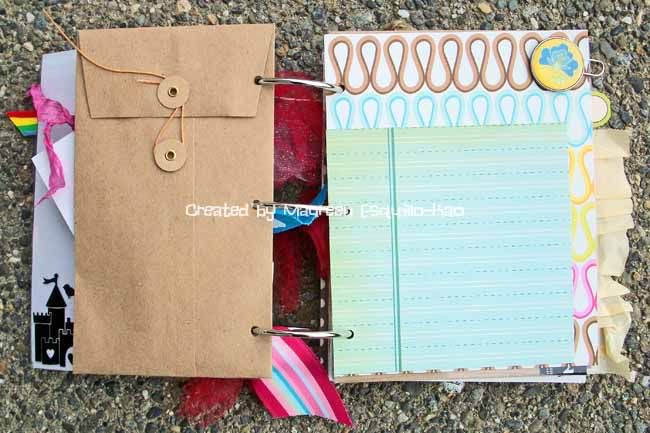
Here's the other side of my envelope.  Cool huh?  I left some pages for journaling, like the printed paper with the lines.  I could either journal on my envelope or add a photo here.
Photobucket

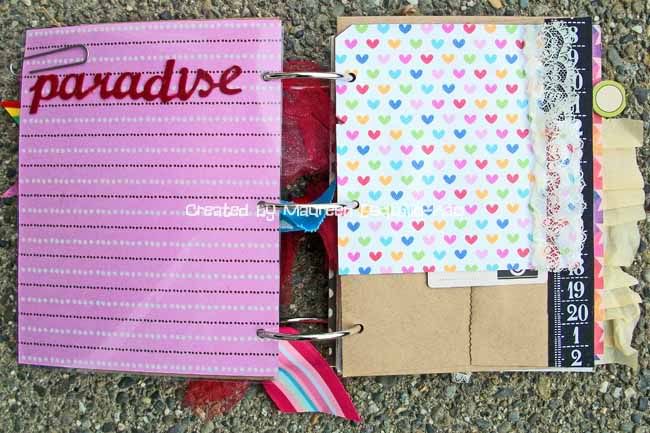
Here's another section to which I added a transparency.  I left this one blank and later I may add something to it.  I HAD to add some girly lace to the edge of my square piece of cardstock.
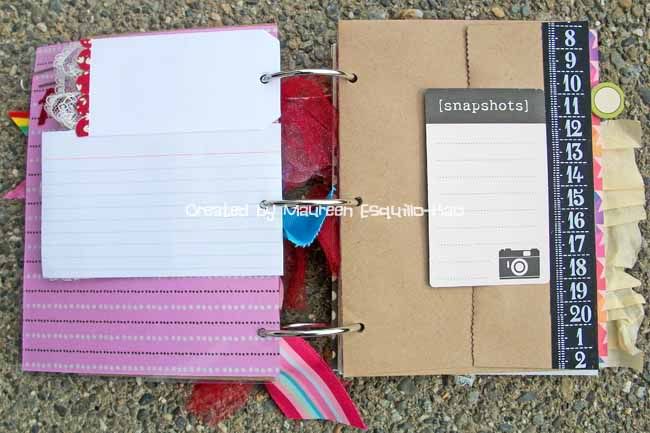
Photobucket

I glued an index card and tag to the other side of that piece and jazzed up my envie with a journaling card and canvas tape.  LOVE THIS ENVIE!
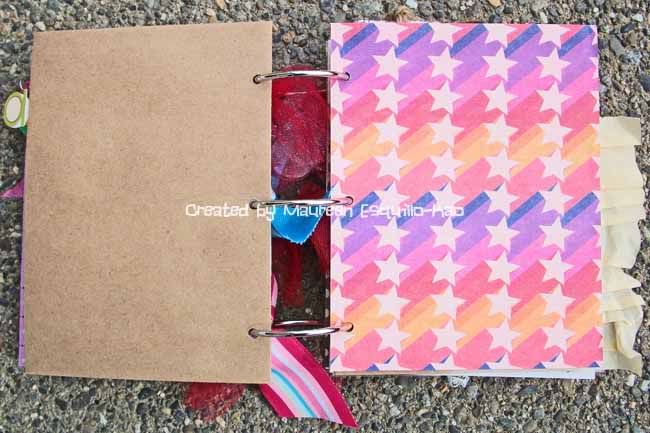
Photobucket

A pretty simple spread here...likely I will Pizazzifiy it later.
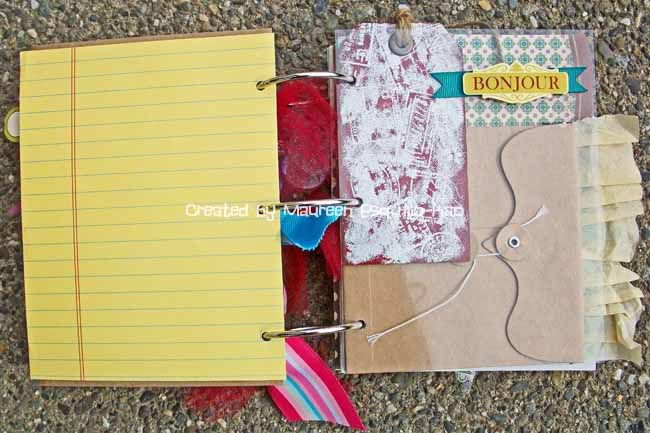
Photobucket

Oh how I love these pages!  Another awesome envelope and pretty chipboard tag.
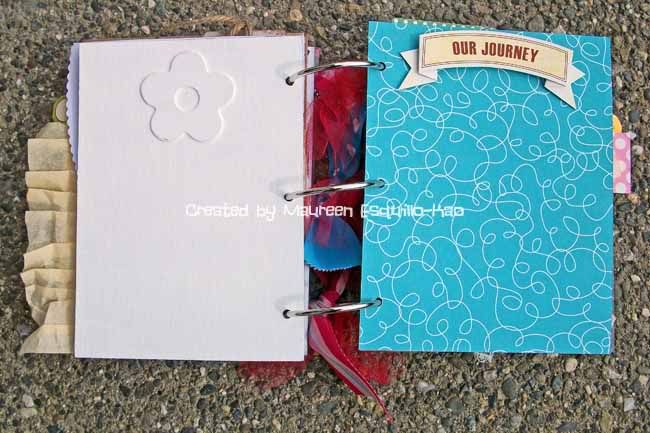

Photobucket

Some chipboard pages were added to serve as journaling pages.
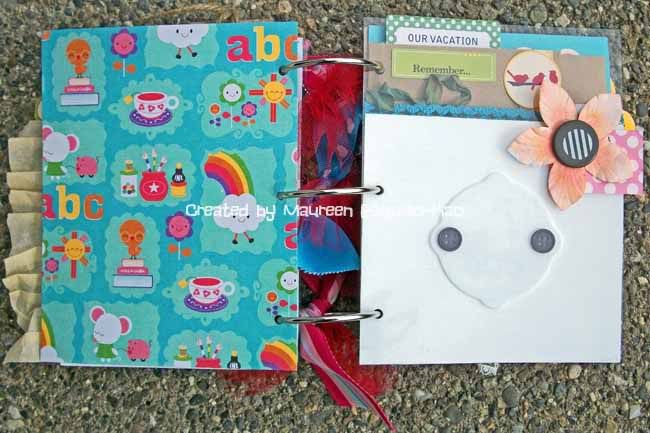
Photobucket

I love arranging the layers so you can peek at things to come....
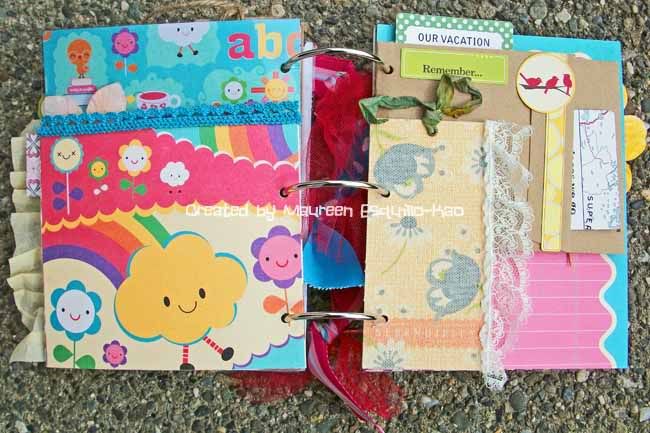

Photobucket

More lovely lace and trim here!

Photobucket

I folded another envelope to create a pocket. These calendar cards were stamped.  Later I plan to add the date and an "X" to mark the date of the journal entry.  I can then journal behind this card or add it to a page with my photo.
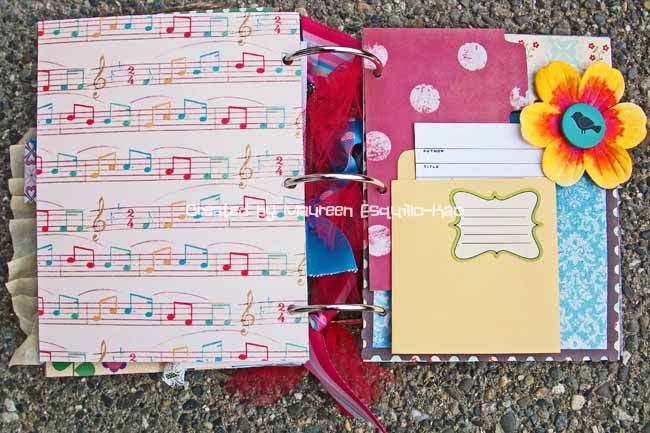
Photobucket

More fun pockets!  I love libary cards/pockets.  They're so fun.
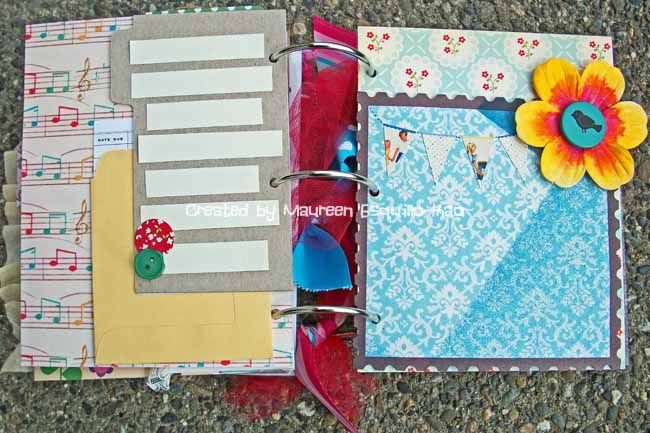

Photobucket

I found an old die cut I accidentally misted on.  I added some strips to the chipboard tabbed card here.  I can journal on them later.
Photobucket

The back of that die cut was pretty boring so I misted it and inked the edges.  Beautimous!

This beautiful girl is my new love!  I'll love her even more when I add some awesome family photos!

Hope you enjoyed peeking!  Thanks so much for stopping by!


Wednesday, May 12, 2010

Kickin' It.....BUCKET STYLE?


Remember this sneak?  Well, over the weekend, the project was posted in the Scrap Freak Forum as part of the May Class...so that means I can SHARE!

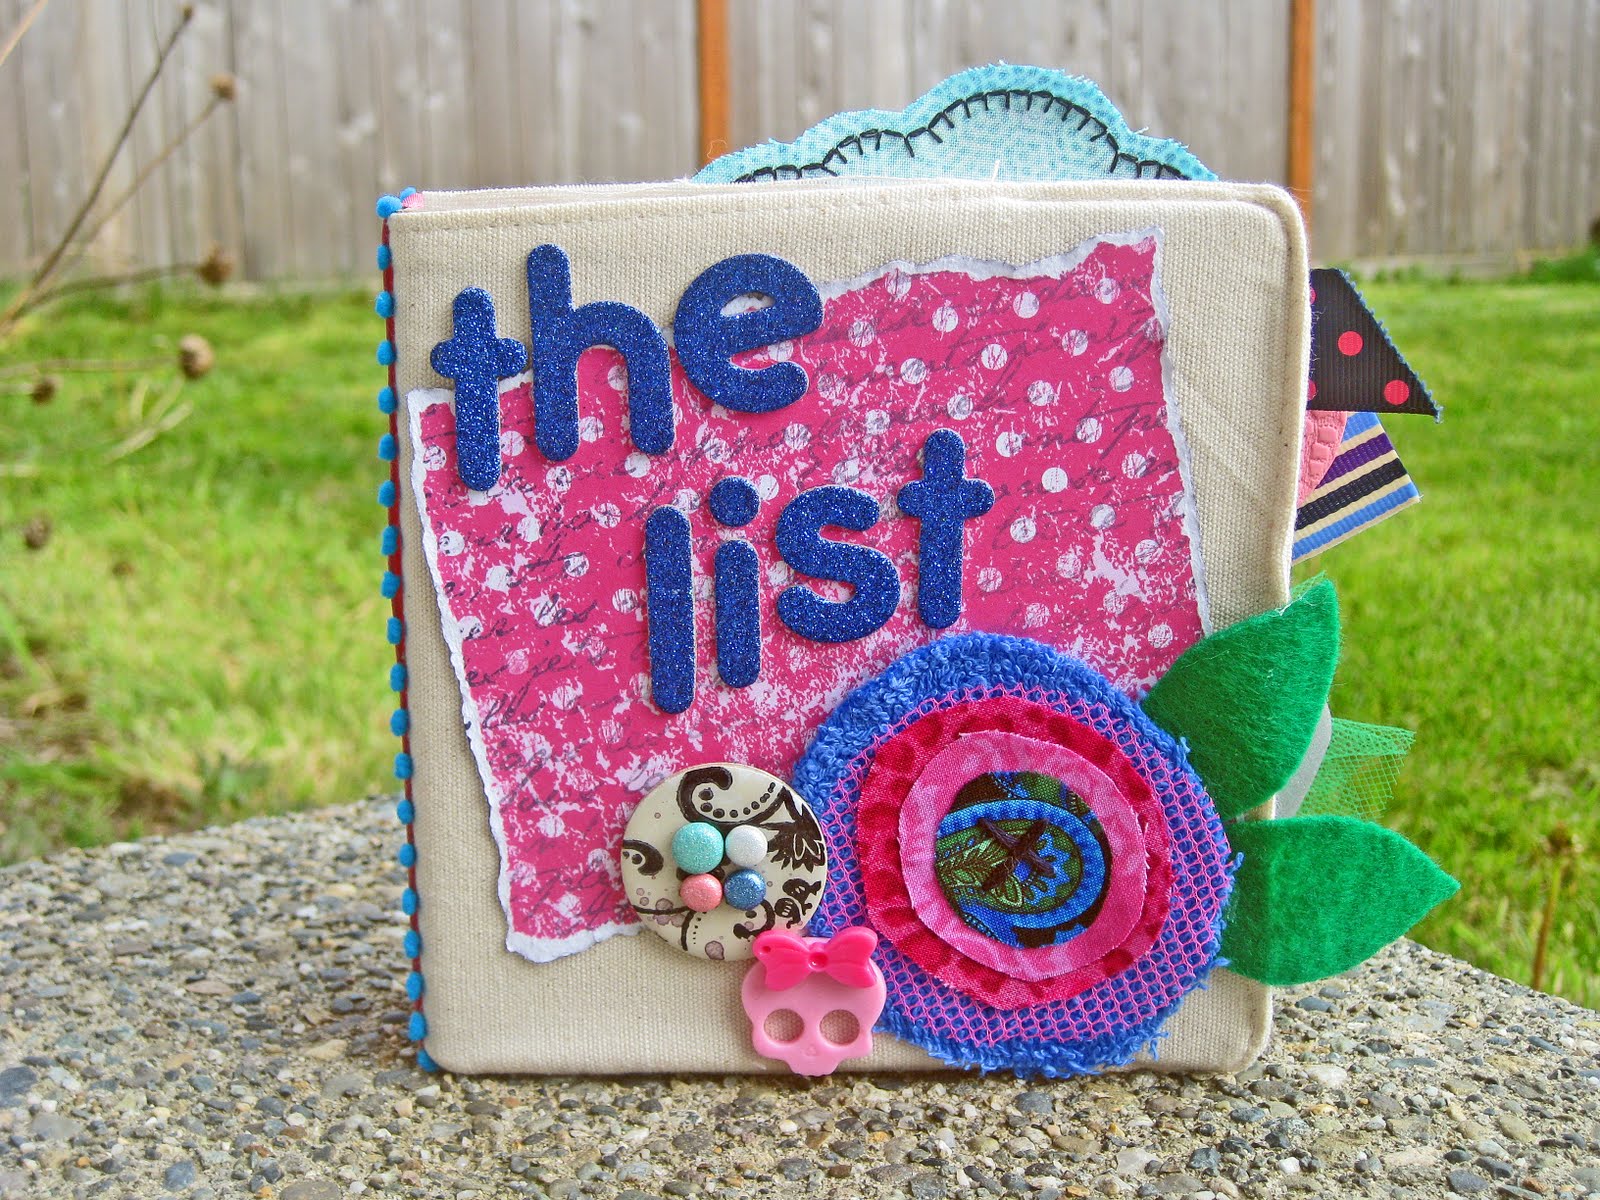
I've been meaning to do a bucket list for some time now.  And a post over at Carrie's blog gave me the inspiration I needed to get my butt in gear.  Thanks Carrie!

Look at all the goodies peeking out here!  Don't you wanna reach out and touch it?


I used LOTS of Pink Ninja GOODIES in this one!  And once again.....this is my most FAVORITEST kit...Accidentally Kelly Street.  I just love the combinations of color, girly and a little tough rock girl in there!  Just like ME!


Yah, I KNOW....lots of photos...but I took em...and I have to put my time to good use and share em ALL!


I really love this mini canvas book by Maya Road which I purchased from Simply Obsessed.  I want another one to play with.  It's so cool because it has two of these wonderful canvas pockets and thick chipboard pages!


So the topic was making a bucket list and I sat for a few minutes just thinking of things I'd like to add.  I figure the canvas pockets would be perfect for momentos like ticket stubs or something....little pieces of evidence to show I completed an item on my bucket list.


I used a hot glue gun to glue all these beautiful pieces to my pages.  It really works well!


I used lots of my Etsy purchases in this book!  This book is also a tribute to my love of Etsy!!!!  Even the Pink Ninja Addicts Kit is from Etsy!


This cute little bunny is from my girl Euphoria's Etsy Shop called Random Shenanigans!  Love all her beautiful goodies in her store!


Here's a close up!  I'm gonna use some of my bunnies for an Easter layout as well!


I LOVE how I layered strips of paper on this page!  That pink piece has a velvety soft feel.....gosh I so love this book!

That lace impressed heart is also from Random Shenanigans.


And that beautifully decorated chipboard button is created by London Tierney from her Etsy Store called Such Sweet Tierney!  Show her some love and visit my Seattle friend on her blog and Etsy shop!  She's such an amazing artist.


I added lots of cute brads to the holes....makes me giggle!


Remember, if you can't read the print, click on the images and you'll get a close up of ALL my photos!  I take the time to upload them as LARGE as I can just for you all!


I know, some of them are really simple...go fishing...I have as a child but it's been soooo long that I really need to go again!

I've also left some pages blank to be filled in later as I come up with MORE things to add to my bucket list!


I love that green tulle!


He he...isn't that cloud sooooo stinkin' cute?  That's another creation by Euphoria!


Look at those cheeks!  I love all the stitching around the edges!


More of those lovely paper strips...and another Random Shenanigans item...that froggy frog is soooo adorable!

giggling....


And a crochet flower from my Pink Ninja Addicts Kit to which I plopped on that cute bunny in the center and secured with some hot glue!

I love all the layers and how you can see items peeking out from behind other items!

This project was sooooo motivating and made me reflect on life and realize that I should keep my sights on some goals I have even though I tend to live life from moment to moment...to enrich it, I really need to remember to make my hopes, dreams and goals come true as well!

Have you worked on YOUR LIST?  Do you have one?  What's on it?  I would LOVE to hear!

Hugs,
Mo

BLOGWEAR