Recently I was able to do some fun organization because I figured out a way to take the permanence out of my decision. My stash is always growing, shrinking, or changing in location. I like to move things around a lot when I figure out a better way of organizing or a better location for my supplies. But I realized I just had to commit and DO IT...GET IT DONE!
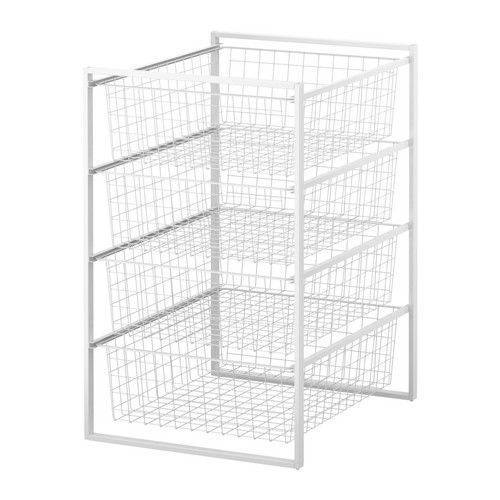
Over a year ago...more like TWO, I purchased these drawers from Ikea:
I devised a way to label the drawers but still have the ability to move the contents around if needed. The secret....an acetate sheet!

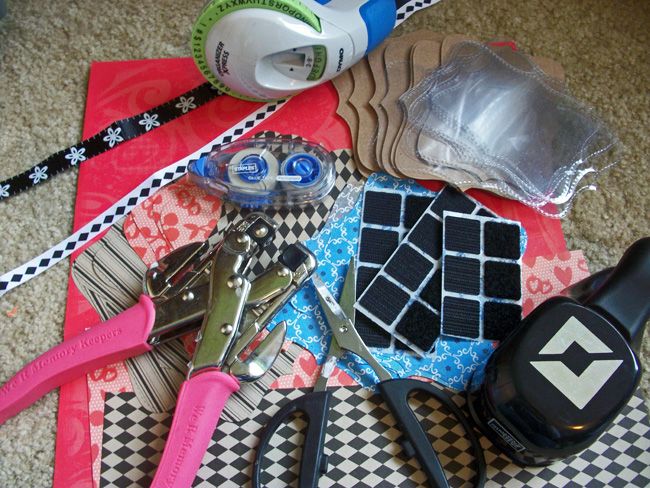
Supplies
Acetate sheets
Large die-cut tags (I used the Top Note die by Sizzix for Stampin' Up!)
Ribbon
Photo corner punch
Patterned papers
Crop-A-Dile
Velcro stickers
Tape runner
Scissors
Label maker
Old cardboard box
To create each tag I used my Sizzix die-cutting machine to cut out the tags from cardboard, patterned paper, and acetate. I stacked the acetate tags on the top, labeled each tag with my Dymo label maker, jazzed them up with my photo corners, and hung them with ribbon. I used the Velcro stickers to keep my tags from swinging and looking un-tidy. I wanted them to stay put and look pretty :)
It has been so nice since I organized! My crafting time is spent much more efficiently. The time it took to locate supplies has been drastically reduced. I feel more creative and I've vowed to limit alot of my crafty purchasing because now I have a designated amount of space to fit certain items. If there's no room, I don't get more until I MAKE ROOM!
Here's the rest of the drawers:
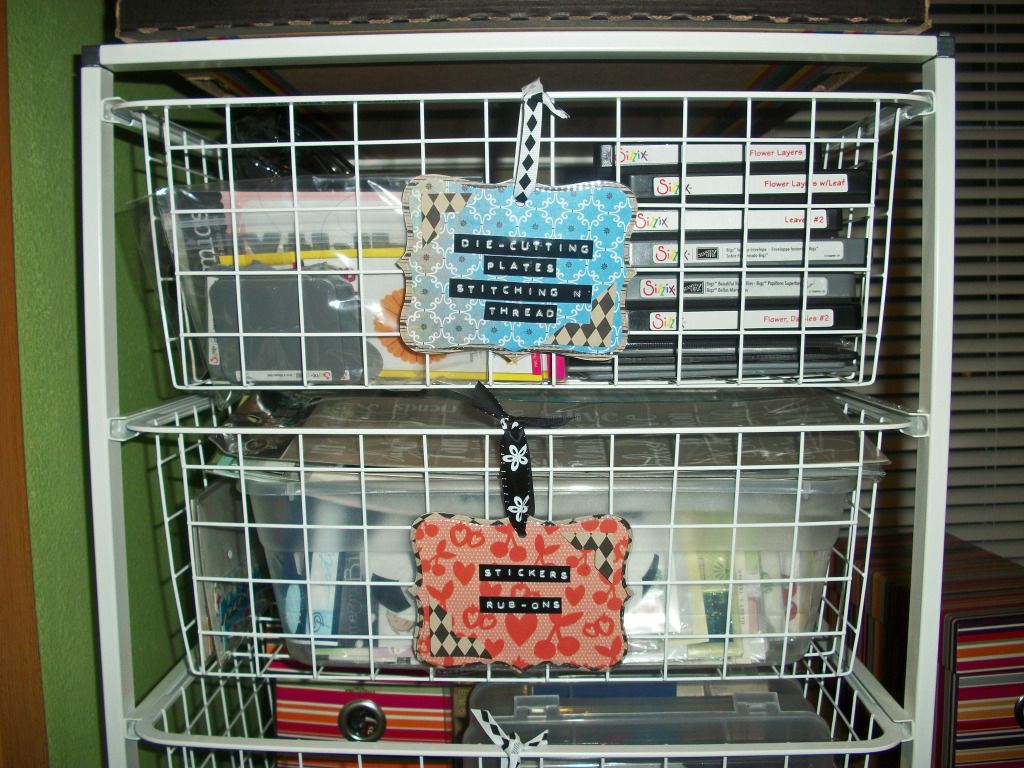
Top drawer: dies for my die cutting machine, accessories for my Sizzix
Drawer 2: stickers, rub-ons
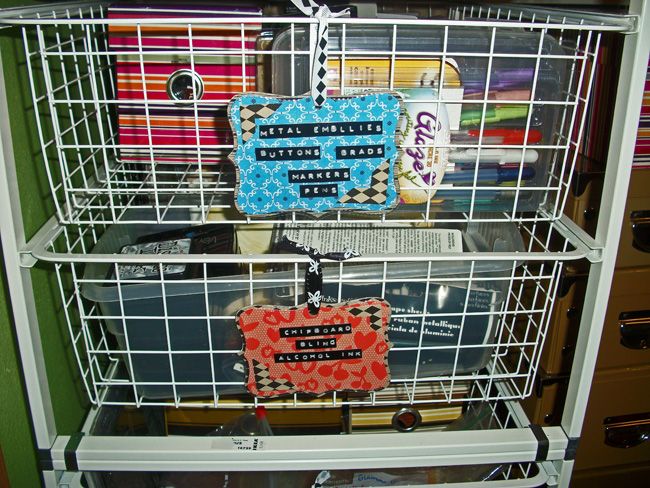
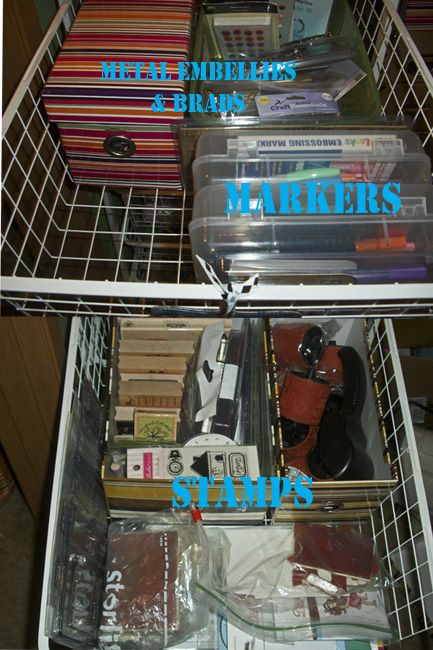
Drawer 3: metal embellies, buttons, brads, and markers/pens
Drawer 4: chipboard, bling, alcohol inks/tools
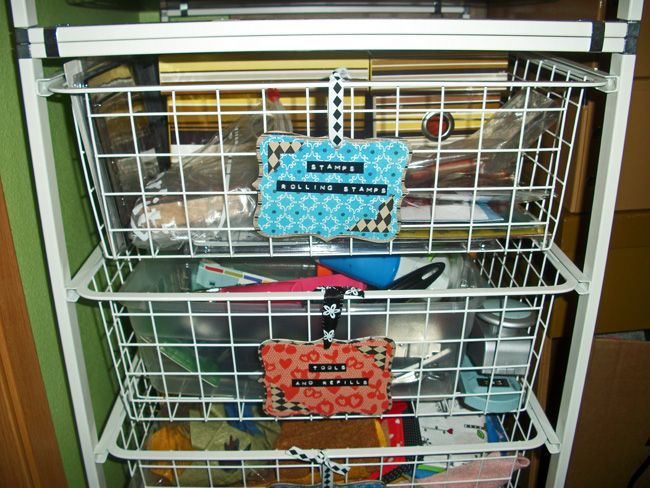
Drawer 5: stamps, rolling stamps
Drawer 6: Tools, refills
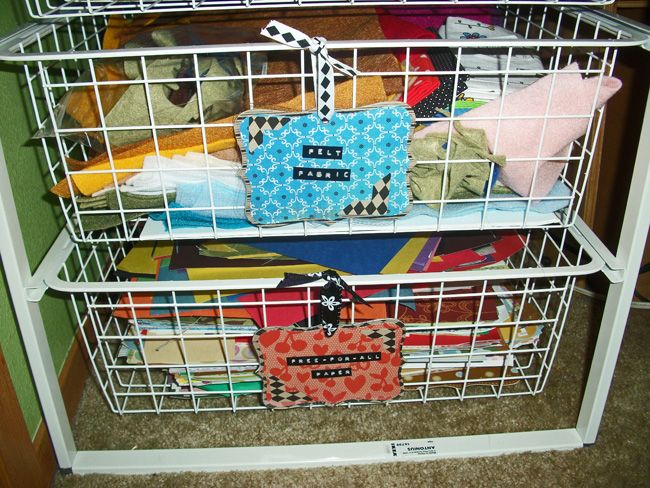
Drawer 7: felt, fabric
Drawer 8: paper the kids are free to use :)
Below is a close-up photo of one of the drawers.
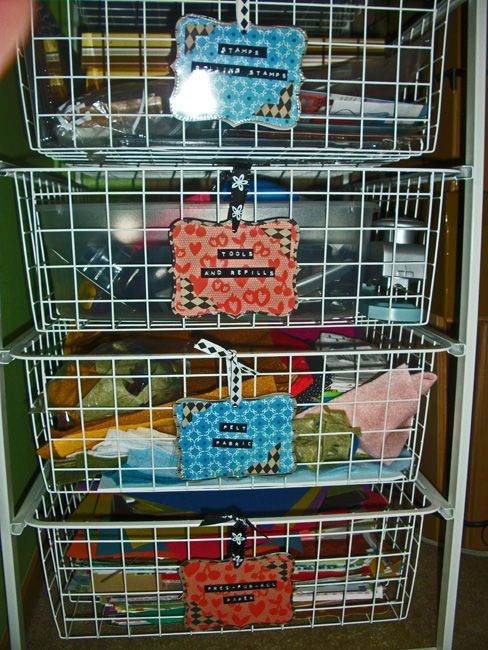
And a look inside a couple drawers:
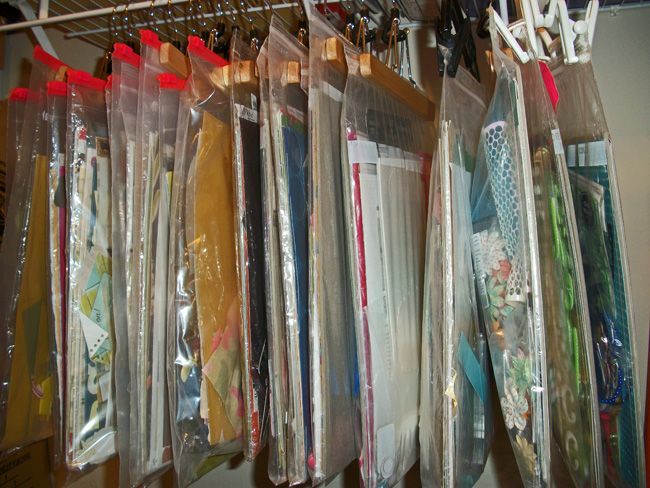
I have a closet in my craft room. To maximize the use of space, I use pant hangers to hang my scrappy kits. I pre-make a bunch of kits in various themes, team them up with embellishments, patterned paper and solid cardstock and I've got most of the guesswork taken care of! The only big tip is to make sure you use sturdy wood or metal pant-hangers. My plastic bags are heavy and those plastic pant hangers just don't cut it. The bags fall a lot! I was able to free up a whole shelf by hanging these kits in the closet.
Ready for MORE FUN????
Head on over to The Art Studio website for:
While you're there, take advantage of the $5 sale on classes (sale good this week only)!
Check out Kate Koch's class on how to create with UTEE
Put up the TAS blog button on your blog for PRIZES!
Purchase a Scrapbook News and Review magazine (lifetime sub ON SALE for $39.99)! Proceeds benefit Hurricane Sandy victims!
Are you ready for more tips? You should head on over to The Art Studio blog and a few of the instructors have shared how they organize some of their craft spaces:
10+ Ways to Get Rid of the Crafty Mess


I'm in the middle of my 'operation scrap room' project and I too had the same problem when planning what to do with mine. I decided on black and white with a touch of purple as that's my favourite colour. I am a huge fan of damask print so have a splash of that around the room in black and white and have added a little purple here and there. If I decide to change then it won't need to be a dramatic change. Everything in my room matches so it will just be a matter of recovering like I did with this project. If you head to my blog and look for the 'scrap room storage' label you'll get a good idea of what I've done. I'll be doing a post in the next month or so of the whole room. Good luck, I can't wait to see what you come up with! xo
ReplyDeleteGreat ideas for storing your goodies!!!! I loveeeeeeee the way you hang the papers!!!!
ReplyDeleteI just pinned these IKEA carts the other day! So in need of an organization overhaul. Thanks for the sneak peak into how you do it!
ReplyDelete