
Make your patterned paper the center of
attention on a project. With the use of
punches and a opaque white gel pen, I’ll show you how I created this simple
pee-a-boo punch card, perfect for almost any occasion!
Supply
list
TaDa Creative Studios patterned card stock (at least 3 complementing patterns)***
Brown
Kraft
Opaque
white gel pen
Punches
(3 shapes)
Glue
Step One:
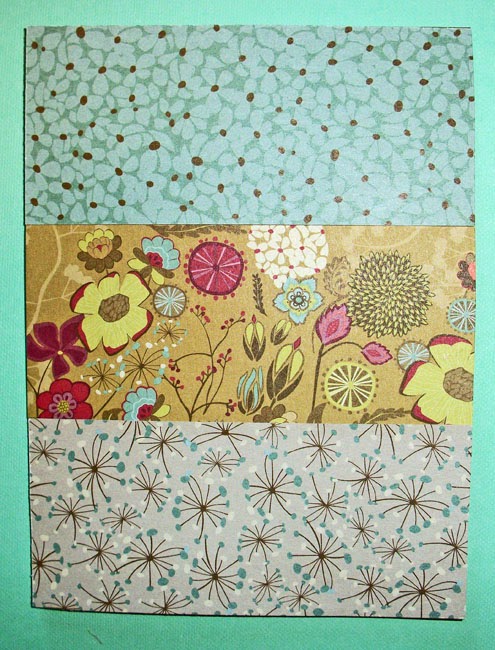
Cut down your neutral cardstock to 9 x 12 and fold so that your card
size is 4 ½ x 6. This will be your card
base. Next, cut down your three patterned cardstock papers to 4 ½ x 2 pieces
and glue to your card face.

Step Two:
Use your punches to punch out windows out of the brown cardstock. I’ve opted to stagger my punches for visual
interest.

Step
Three: Use your opaque white gel pen to add some faux stitching around the
edges of your card and outline the punched windows. Glue brown card stock down onto your card.

Step
Four: Hand write your sentiment with the
opaque white gel pen or leave blank.
So there, an easy peasy card you can make showcasing some beautiful patterned papers in your stash! Get to creating and see how many you can knock out before the month of January is through!
***The patterned papers above were provided by TaDa Creative Studios for a previous manufacture event at The Art Studio where this post originally debuted.
For some fabulous card making tutorials, check out my class offerings:


